Sunday, October 27, 2013

Textures well on their way

So I haven't posted in a while but I have recently added the normals, diffuse, as well as a very rough pass of the specular. My next step is going to be to refine the specular as well as adding the smaller details in the diffuse.

Also the logo is just a place holder at this moment. Not really sure what I want to put in it's place tho.


Saturday, September 7, 2013

Finally finishing up the high poly modeling. Next step is placing every thing in Z-brush and adding higher detail, then on to the baking of the normals!!!


Tuesday, July 30, 2013

Startin' on a Hotdog...cart

So my next modeling challenge for myself will be a hotdog cart. I have chosen this due to the fact that it houses many different materials. This should be a good chance for me to showcase my ability to use Spec and Gloss maps to differentiate between materials.

I have already started placing blueprints in Maya to make sure all my proportions are correct as well as grabbing as many reference images as I could. Attached below is the main hotdog cart that I am basing my design off of as well as some quick renders of my work so far.

Basic Concept
Wire-frame. I have the frame and lower parts all pretty much done, and the top part is boxed out and sized to proportion.
High Poly. Plan on adding fine details such as tire treads in Photoshop. I find this method easier to manipulate and produces a cleaner result.

Wednesday, July 17, 2013

Camera Finished!!!

Finally completed my camera. Learned a lot on this project and hope to show my advancements on my next project, which I will start immediately.

Here are some beauty shots accompanied by the wireframes and texture maps.

Everything was modeled using Maya. Textures were all done in Photoshop with a little help from Crazybump. Renders were all shot using Marmoset Toolbag.

The mesh consists of 2797 faces  /  5462 tris.
Texture maps are set at 2048 x 2048 pixels.


Thursday, July 4, 2013

Party times with my Gloss maps!

I have been learning a lot about Gloss maps as well as the difference between them and Specular maps. After adding a gloss and fixing up my specular a bit I thought a video would be a nice way to show my progress. So here is my first attempt at rendering out video in Marmoset.

A few other changes that were done are fixes to the normal, primarily re-baking the top of the camera to clean up rough edges.  

For a higher quality video I uploaded it to Youtube.


Still a bit of tweaking to do, but I am really happy with how well the Gloss is helping bring out different qualities in the multiple materials.


Wednesday, June 5, 2013

Fun with Marmoset

So I finally got around to messing with Marmoset. Still learning the basics, but from what I have learned so far I am loving the program! I just assigned my three textures and applied a preset light. Later I will be going back and assigning different materials to various parts of the camera and setting up better lighting.

But here are some screen shots from my first week with Marmoset. I have been concentrating very hard on trying to capture the attributes of the metal.

My 3 textures so far

I just wanted to give an update with my most recent textures. I still have some fine tweaking to do on the specular as well as adding some character to the diffuse.

Diffuse
Specular
- I am still playing around with the oily rainbow color to really try and nail that realistic metal feel.
Normal

Saturday, April 6, 2013

UV layout

I had some people asking for the UV layout as well so here it is.


So I finally got around to baking out the normals, and after some help from friends and learning a few new techniques I would say its coming along nicely. I baked using XNormals and compiled all my files in Photoshop. I plan on heading back into Photoshop for a clean up so expect more posts soon.


Sunday, March 10, 2013

 And here are a few shots of my low poly.


Look what I started

Alright finally have some work to show again. After a new start at Raven Software up in Madison, WI I have decided to start putting together an Environment Modeling Reel.

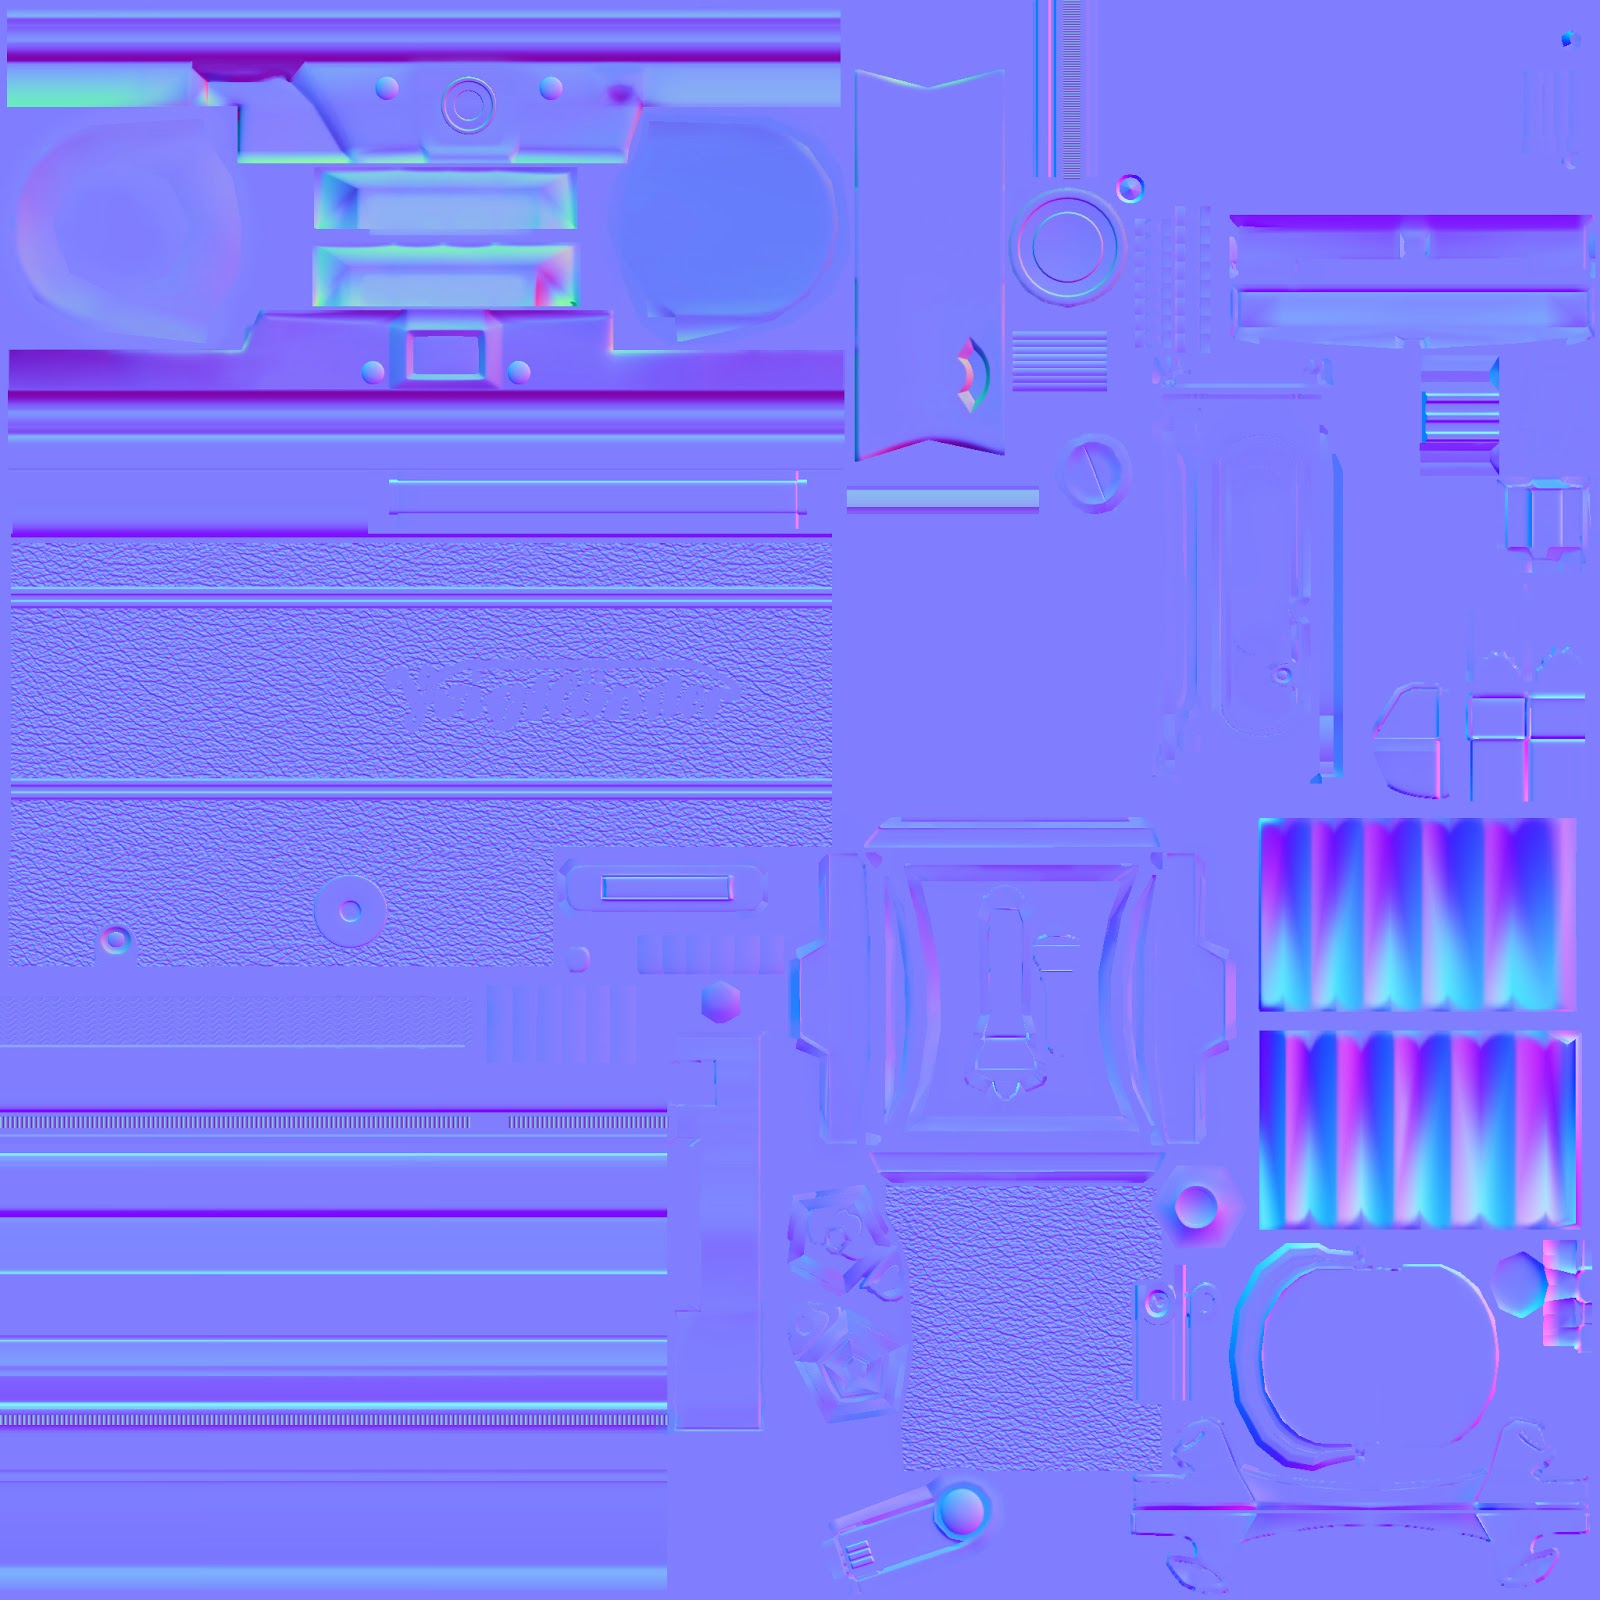
My first project for this reel is going to be an old Voigtlander camera to show my ability to bake normals, lay out UVs, and also texture. I have already began the high and low poly and am in the process of laying out the UVs to begin baking normals. I will be back with more posts once I am set to throw everything into Xnormals.


Here are two quick snap shots of the high poly model. I plan on adding in the leather texture on the body of the camera as well as ridges along the edge of the dials. My plan was to use a secondary program for this such as Zbrush or just Photoshop (Any suggestions?)