Also the logo is just a place holder at this moment. Not really sure what I want to put in it's place tho.


 |
| Basic Concept |
 |
| Wire-frame. I have the frame and lower parts all pretty much done, and the top part is boxed out and sized to proportion. |
 |
| High Poly. Plan on adding fine details such as tire treads in Photoshop. I find this method easier to manipulate and produces a cleaner result. |


 |
| Diffuse |
 |
| Specular |
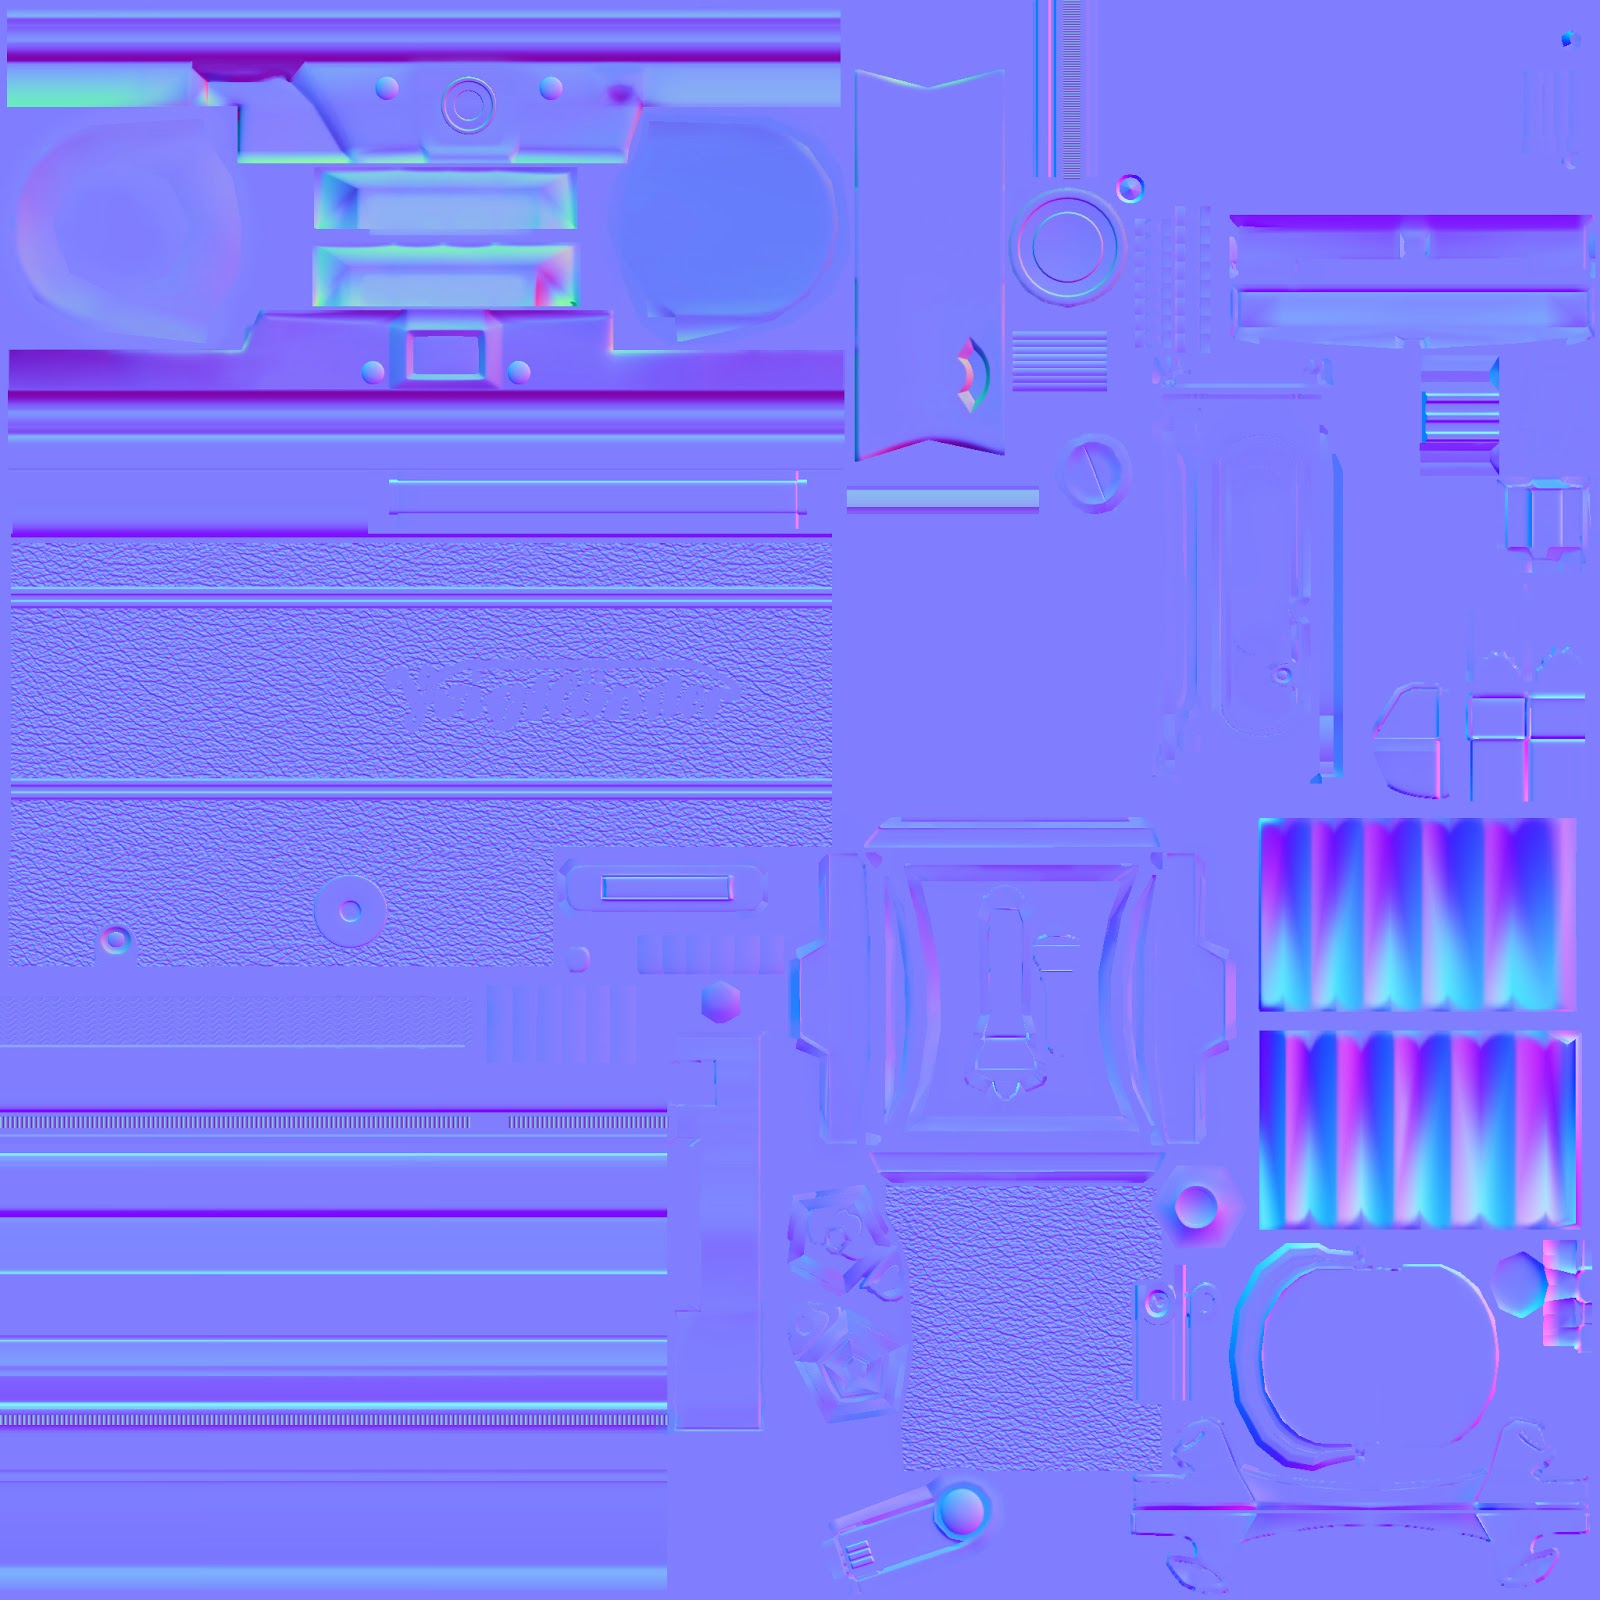 |
| Normal |


